Burglary protection – what to do?
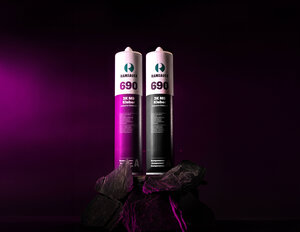
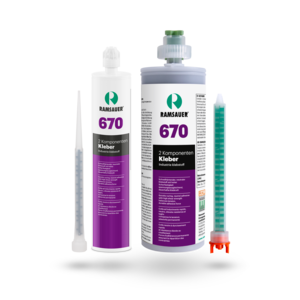
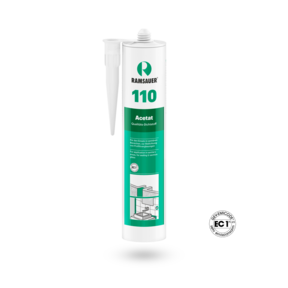
Safety – a good feeling. It is easy to think that shatterproof glass alone is enough to keep burglars out. But security is always a question of the weakest link. Correct adhesive bonding of the glass elements in the window frame is a prerequisite for burglar-proof glazing. That is why we recommend the following: when adhesively bonding your windows, make sure you use our tested and certified adhesives.
The resistance classes RC1N to RC6 define the quality of the burglary protection (RC = "Resistance Class"). The higher the selected resistance class, the longer it takes a burglar to overcome the obstacle. If objects in resistance class RC1 can still be overcome in a relatively short time using a screwdriver or similar, the time required and the need for special tools increase with higher classifications.
Resistance classes and resistance time
Period of resistance: 0-3 minutes
Basic or low protection against attempts to break in using physical force (e.g. jumping against the object, kicking, tearing out, etc.)
Period of resistance: 3 minutes
Opportunist burglars use simple tools such as srewdrivers, pliers and wedges to break open the closed and locked component. This class uses standard glass only.
Period of resistance: 3 minutes
In addition to the requirements for RC 2 N, glazing according to EN 356 is mandatory.
Period of resistance: 5 minutes
Experienced burglars use a second srewdriver and crowbar to break open the closed and locked component.
Period of resistance: 10 minutes
Even experienced burglars using sawing and striking tools, axes, chisels, hammers and drilling machines will have to make major efforts to break into rooms protected by safety doors of resistance class 4.
Period of resistance: 15 minutes
Besonders erfahrene Täter verwenden hierfür zusätzliche Elektrowerkzeuge wie Bohrmaschinen, Stichsägen, Säbelsägen und Winkelschleifer.
Period of resistance: 20 minutes
This resistance class is the optimimum barrier against burglars. They will have a chance to overcome this barrier only by means of special, large electrical tools, and only with major efforts.

01
- Compatibility with the adjoining substrates and edge sealing materials must be tested in advance.
- Use a primer if required.
- Introduce a bead of adhesive into the groove base.
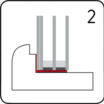
02
- Introduce the glass unit into the adhesive bed
- Install blocks properly and according to standards.
- Attention: Use only compatible glazing blocks
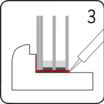
03
- Apply adhesive all around the groove base without any gaps.
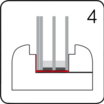
04
- Attach glass retaining strips
- Seal joints by means of a tested glazing sealant if required

