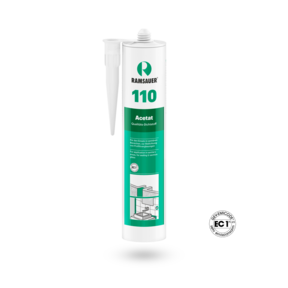
Does a silicone joint in the bathroom need to be renewed or is the new kitchen worktop waiting to be fitted? With the right tools, a bit of dexterity and professional know-how, every amateur crafter can create a professional silicone joint.
Choosing the right silicone
Before you start, you should choose the right silicone for your application. In sanitary areas, we recommend sealants with fungicidal ingredients to prevent mould growth. For joints in the kitchen, you should take into account the high temperatures involved in cooking and baking – and there are also special silicones for outdoor use that withstand wind and weather in the long term. The substrate also plays an important role in the adhesion of the joint. Choose the right silicone for your material and, especially with natural stone, make sure that it does not contain any plasticisers, as this would cause unsightly staining of the edges sooner or later.
Joint dimensions
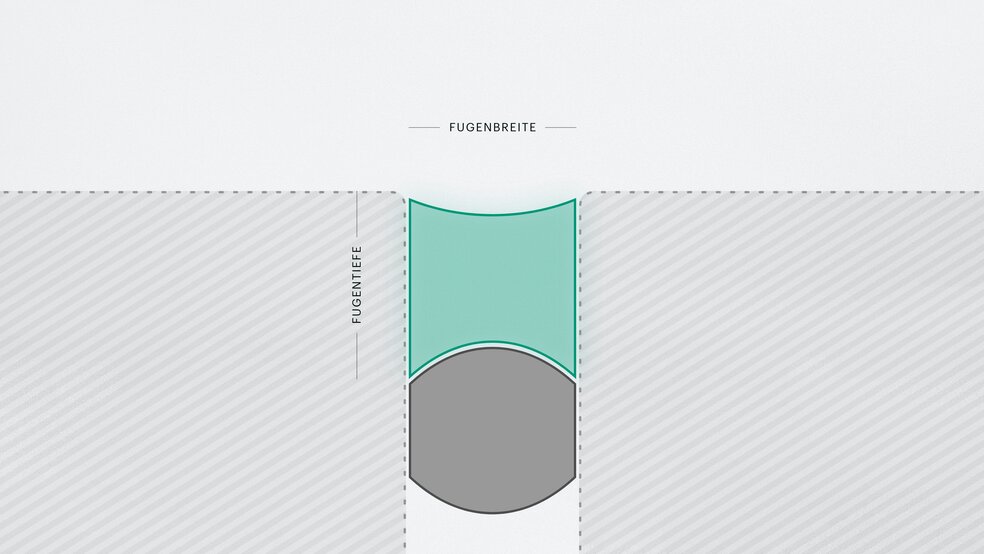
The right joint dimensions depend on the type of joint:
- For movement compensating joints, such as between the bathtub and the tile backsplash, the dimensions must be designed to absorb the movement expected. Keep to a minimum cross-section of 3×5 mm.
- For floor joints, the joint width should be the same as the joint depth.
- For perimeter joints, the depth should be about half the width. To regulate the joint depth, the joint can be backfilled with a round profile.
How to create a perfect sealant joint
Before you start creating the joint, you should have the right tools at hand. You will need: smoothing agent, masking tape, a cutter knife, primer if necessary, a joint scraper and a silicone smoothing tool.

Preparing the substrate
The adhesion surfaces must be dry, capable of bearing, and free of dust and grease. It is important to check the compatibility of the sealant with the substrate.
Masking joint edges
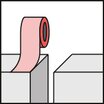
Mask the joint edges precisely on both sides using flat masking tape. Press the masking tape on well so that it cannot slip.
Priming
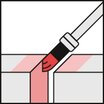
If adhesion is poor, the substrate must be primed with a primer coat. Stir or shake the adhesive coat well. Apply undiluted to the adhesion surfaces with a brush or cloth. Protect treated surfaces from moisture and dust. After sufficient flash-off time (see label), the sealant can be applied. Adhesive coatings are film-forming and cannot be removed after curing. Therefore, apply carefully to avoid contamination (yellowing, staining). Be careful with solvent-sensitive materials such as powder-coated surfaces, sanitary plastics, polystyrene, etc.
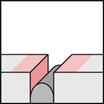
Profiles for joints that are too deep
If the joint is too deep, you must place a backer-up rod in the joint before applying the silicone. Select the backer-up rod according to the joint width and place it in the joint. When placing the profiles in the joints, make sure that it is compressed by around 25%. Do not place the rod with a sharp object, otherwise the surface will be damaged and bubbles may form.
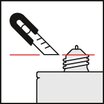
Opening the cartridge
Remove the threaded end from the cartridge and cut the nozzle at an angle depending on the joint width.
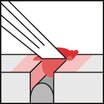
Applying the silicone
You can now fill the sealant precisely and evenly into the joint. Pay attention to the pot life.

Smoothing joints
Apply the smoothing agent to the joint and pull over the joint in one stroke using a smoothing tool. Make sure that no smoothing agent runs into the joint where it has not yet been filled with silicone.

Removing the masking tape and allowing the joint to dry
Carefully remove the masking tape before a skin forms. After that, do not touch the joint until it is completely cured.
What to avoid when sealing joints.
Do not use household washing-up liquid as a smoothing agent. The chemicals contained can chemically affect the sealant and cause discolouration.
Never clean the joints using a dry cloth. This can cause the so-called "rubber effect". This means that material is rubbed off the surface.


